
Tuesday, July 31, 2012
Boating with Grandpa
Thursday, July 19, 2012
A potential project
A few days ago I had lunch at the local heritage museum on Adelsö, outside there was a boat that I liked the shape of.

It was built around 1900 on the island of Dävensö as a fishing boat but have also been used to transport summer tourists to the islands. It was given to the heritage society in 1992 and have been in use until 2009.

I could not see if there was any mast step but I assume that it originally had a small sprit rig.

I will have to go back some day and do some proper measurements. Maybe my next build???
Tuesday, July 17, 2012
Follow up....
Just to follow up on my last post, if you want to get a quick overview of what my sailing area looks like you can have a look at this thread that just showed up on the Wooden Boat Forum:
http://forum.woodenboat.com/showthread.php?150400-Stockholm-archipelago-pictures
http://forum.woodenboat.com/showthread.php?150400-Stockholm-archipelago-pictures
Monday, July 16, 2012
Cruising area
I signed the lease agreement for my new house on Saturday!

So I thought perhaps I should tell a little about the area I
will be sailing. The house is located at the red dot in the map below. It is on
the island Adelsö in a fresh water lake called Mälaren, the third largest in
Sweden. I suppose I will do most of my boating there. But it is only a short
drive to get the boat into the Baltic Sea and the archipelago of Stockholm.

In the bottom end of the map you will see a deep bay ending
up in the city of Norrköping. This is where I grew up and I have spent a lot of
time in this area and plan to return with my new boat.
On the top right you will see the Åland islands and the
Finnish archipelago, an area that I am keen to explore further.
All of these areas are really nice cruising places, literally
thousands of islands and no tides to think about. The only problem is that I am
not the only one that has discovered these great places so during summer it is
usually packed with boats. This is where a shallow draft sail-and-oar boat
comes in. With a draft of less than 30 cm there are plenty places where I can
go but few others…..
Friday, July 13, 2012
Pulling screws
Rushed down to the garage before leaving for work to pull the screws out of the gunwale and take some pictures.


See you in a few weeks!
Time today: 0.5h (Total time: 335h)

Still need to trim the aft ends

You can see the rudder gudgeon on top of the queen plank, starting to measure for the rudder installation.
See you in a few weeks!
Time today: 0.5h (Total time: 335h)
Thursday, July 12, 2012
Extra effort
I am going to Sweden for a few weeks tomorrow so I felt I had to give it an extra push today to get some progress.
So I started with making the last deck pieces, adjusted the stem cut of the gunwales, drilled the gunwales and tested the fit of the rudder in the rudder "stock".


Then I went on to fitting the gunwales (the stringers was hard to fit but at least there I could align them in the cut outs, this took a loooooot more time.....), coating the underside of the deck pieces and faired the rudder stock.


Time today: 7h
So I started with making the last deck pieces, adjusted the stem cut of the gunwales, drilled the gunwales and tested the fit of the rudder in the rudder "stock".

The last deck pieces, they do not really fit with the forward pieces but that is because those were cut overly large (for some reason???)

Adjusting the stem end of the gunwale, almost there just a little more planing

Rudder down, ...

..., rudder up. Only some fairing (the pieces did not really match up) and and painting left
Then I went on to fitting the gunwales (the stringers was hard to fit but at least there I could align them in the cut outs, this took a loooooot more time.....), coating the underside of the deck pieces and faired the rudder stock.

Used a 4mm piece of ply to make sure I fitted the gunwale at the same thickness as the deck above the sheer plank.

Much nicer fit than yesterday.....

View of the gunwale, the sheer plank still need to be sanded before final painting and the rest is very dusty

Coating the under side of the deck

Fairing rudder stock
Time today: 7h
Gunwale and deck, dry fit
Planed the gunwales to shape (a slight taper forward) and dry fitted them, with some help from my brother-in-law and his son.


Then it was time to dry fit the decks and plane them to the precise shape.

Below are some pictures taken by my sister during the week


Time today (well actually yesterday): 2.5h


It is tricky to get the angles right, will try again tomorrow

Done, I will add some more screws when I glue it to make sure it aligns with the shear
Below are some pictures taken by my sister during the week

Me in the boat on Saturday

Fitting the deck on Monday with my nephews and sister

Wednesday, I am planing the Queen plank while Tom is shaping the forward deck
Wednesday, July 11, 2012
Gunwale scarfing
My brother-in-law helped me with the scarfing of the gunwales, I did not have pieces long enough so we had to add about a meter in length.


Time today: 2h

Then there was painting time

And finally I glued the rudder stock pieces

Tuesday, July 10, 2012
Cutting the deck
Got some help from my sister and her sons to mark out the deck curve on the ply. Continued to cut the deck pieces and went on to do a second coat of paint on the rudder, centerboard and inside the cheek pieces. Got some paint left over in the tray so I applied this to the deck.


Time today: 1.5h


Monday, July 9, 2012
Weekend activities
My sister and her family is visiting so we have spent most of the weekend sightseeing but managed to get some boat building in there as well.
Got help to carry the work bench out of the garage so that I will get some more space.
Glued the foot braces in place.


Started to paint the centerboard, rudder and cheek pieces.


I discovered a void between the wood core and the ply outer layer of the centerboard, so I had to open it up and fill it with epoxy.

Also installed the centerboard up-haul fitting.

Time this weekend: about 3h
Got help to carry the work bench out of the garage so that I will get some more space.
Glued the foot braces in place.


Also installed the centerboard up-haul fitting.

Time this weekend: about 3h
Friday, July 6, 2012
All over the place
There is just so many things to do that I am not really sure what I am doing, but I will try to give an overview of the day.
Applied another coat of epoxy before going to work. When I got back home I marked out and cut the deck for the aft buoyancy compartment.


Time today: 3.5h
Applied another coat of epoxy before going to work. When I got back home I marked out and cut the deck for the aft buoyancy compartment.


Far from perfect, I will have to fit filler pieces towards the planking close to the bulkhead
Drilled the bolt holes in the rudder stock cheek pieces and the cap for the center board pin.

Cut out the mast steps from a chunk of oak, really tricky, angles all over the place. I had to scrap my first version of the mizzen step since I forgot that the mizzen should be stepped at an angle.

Main mast step

First version of the mizzen step, now fire wood

Second version of mizzen step

Drilled the drain holes by clamping the two pieces together, my drill was not very sharp so I generated a lot of smoke
Not really sure how I will make the square cut-out for the masts, tried closely spaced holes but I still need to cut between them and I do not know how.... pictures tomorrow (or some other day... Edited 2012-07-12).

Had to open the garage door to ventilate the smoke and took the opportunity to take a picture
Time today: 3.5h
Thursday, July 5, 2012
Seat tops tuning
Did a second epoxy coat on the appendages and the "bits & pieces" this morning before work.
Fine tuning of the seat tops tonight but first if spiled the aft compartment deck.

The tuning of the seat tops was mainly one by planing (which I enjoy) and unfortunately some sanding (which I hate).

I also test fitted the centerboard pin and cut out the pin caps (no picture of those today).

Finally I coated the undersides of the seat tops and the parts of the rudder and board that I could not coat yesterday.

Time today: 2.5h
Fine tuning of the seat tops tonight but first if spiled the aft compartment deck.

Lots of fiddly bits here, lets hope I can keep the markings apart when I cut it...
The tuning of the seat tops was mainly one by planing (which I enjoy) and unfortunately some sanding (which I hate).

You may not see the difference but to me it is huge
I also test fitted the centerboard pin and cut out the pin caps (no picture of those today).

Finally I coated the undersides of the seat tops and the parts of the rudder and board that I could not coat yesterday.

Time today: 2.5h
Wednesday, July 4, 2012
Glassing
It is interesting how the pin bushings turned out. The big one (40mm Centerboard) expanded during curing while the small one (20mm Rudder) actually contracted slightly. Anyone that can explain this?
Sanded the rudder, why does sanding take so much time.... boored!

I am no very pleased with how the profiles turned out, they are not really symmetrical. So it is likely that I need to redo them within a year or so, hence I decided to glass the leading edge only (abrasion resistance) instead of the whole thing. Did two layers, one wide covering the whole edge and one a slightly more narrow covering the lower part only.


Time today: 3h
Sanded the rudder, why does sanding take so much time.... boored!

Sanded
I am no very pleased with how the profiles turned out, they are not really symmetrical. So it is likely that I need to redo them within a year or so, hence I decided to glass the leading edge only (abrasion resistance) instead of the whole thing. Did two layers, one wide covering the whole edge and one a slightly more narrow covering the lower part only.
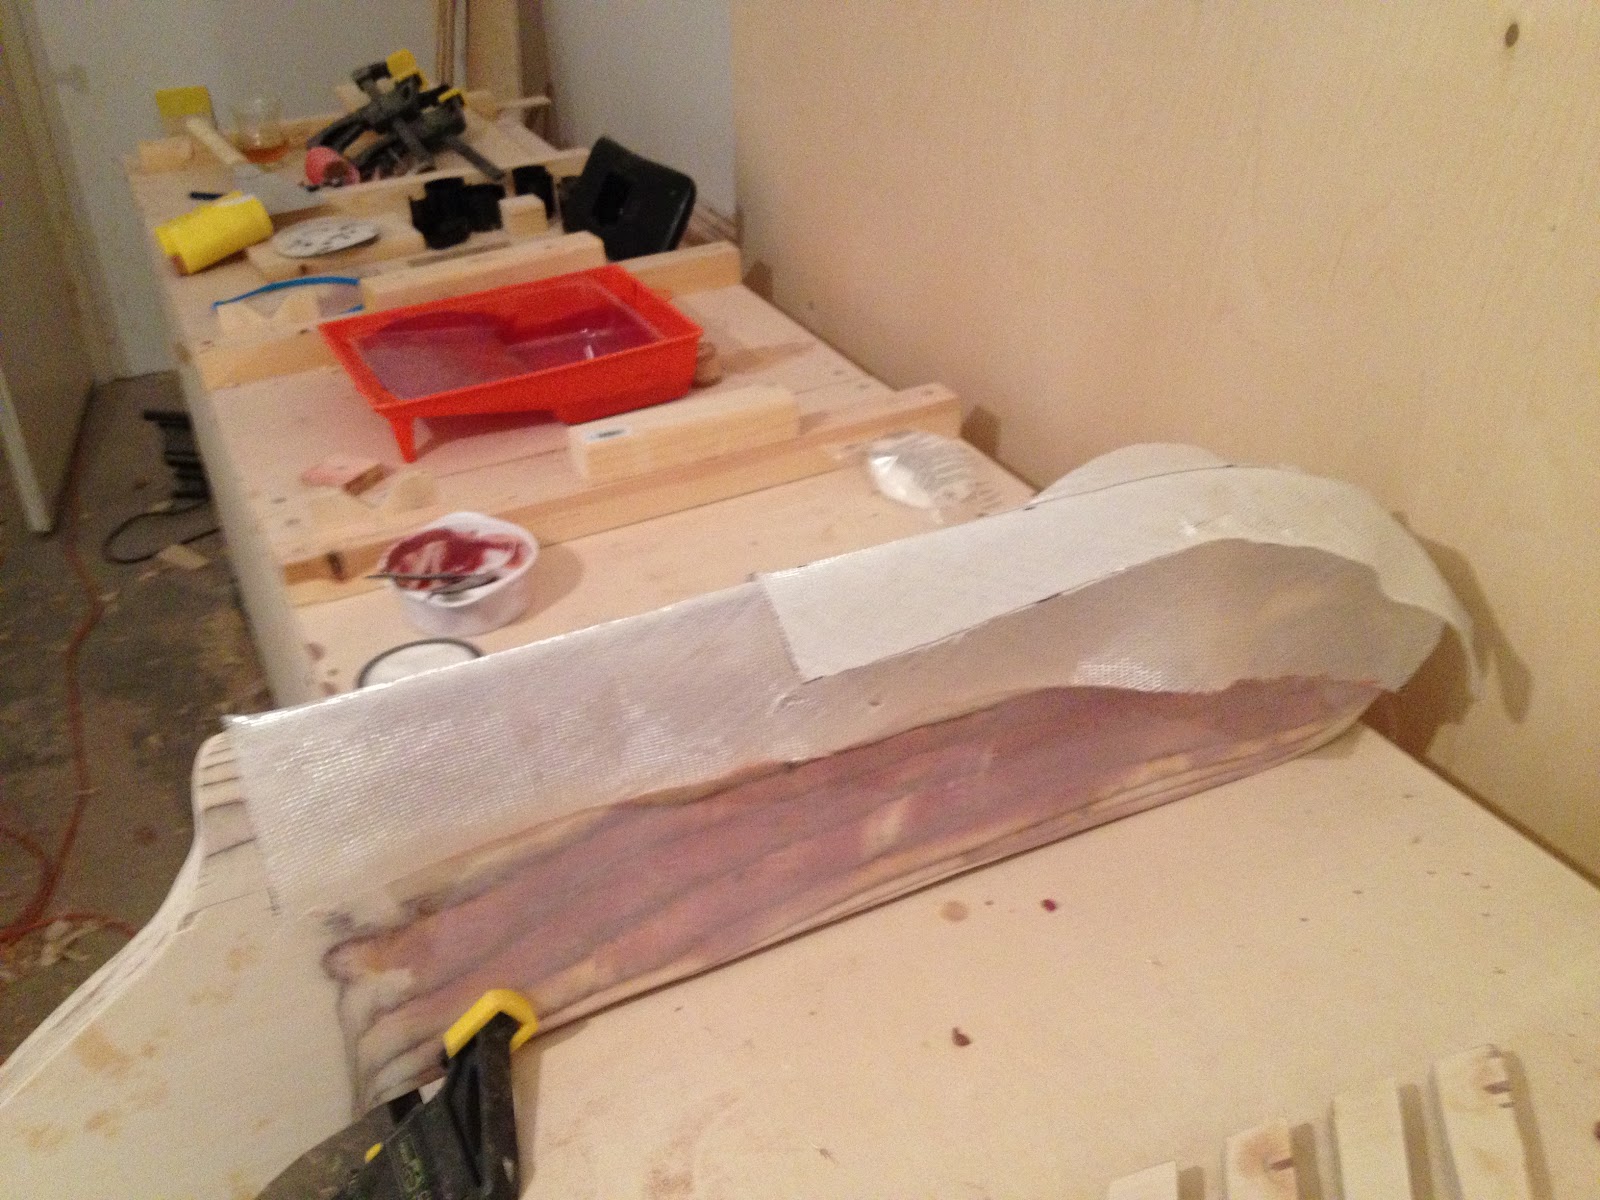
Glass cut for the rudder...

... and centerboard

Coated the rudder pieces and foot braces with epoxy

Epoxy applied to centerboard...

... and rudder
Subscribe to:
Posts (Atom)